There are currently 4 game modes in Hunt: Showdown - Bounty Hunt, Soul Survivor, Trials, and the Training Mode.
There may be up to 12 players in both Soul Survivor and Bounty Hunt Missions. Training Mode and Trials are strictly PvE with no option for co-op.
Bounty Hunt[ | ]
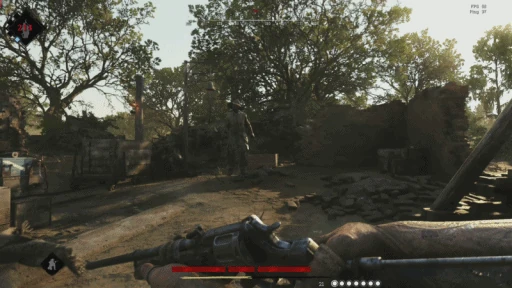
In this game mode, up to 12 players playing solo or in teams of two or three pit hunters they've recruited and geared up against one another to take on contracts for bosses. Each game may take place on one of Hunt's three maps and will feature either one or two contracts on The Butcher, The Assassin, The Spider, and/or Scrapbeak. To narrow their search for the boss, players must investigate clues, which can be found using darksight.
Each clue grays out a portion of the map where the boss is not, and upon collecting the third clue, the exact location of the boss is circled in red on the map. A clue will glow red when an enemy hunter is within 30 meters, and the center of the clue will be hollowed out if it has been taken by another player (clues are not exhausted/destroyed when they are discovered).
To collect a boss's bounty, players must kill and banish the boss. Anytime before the final blow has been dealt to the boss, going into darksight near its lair will activate 'quiet' or 'angry' whispers, and the relevant bounty token in the top left of the screen will flash white or red. Intense, angry whispers and a red-flashing bounty token indicate that an enemy hunter is nearby. This information is not available to hunters while the boss is being banished, leaving them vulnerable to attack from others vying for the bounty during this period.
When a player begins a banishment, all hunters are notified and the bounty token in the top left displays % completion of the banishment. In both duos and trios, a banished boss drops two bounties. Upon picking up a bounty, hunters are granted 5 seconds of enhanced dark sight, which indicates the vague location of nearby enemy hunters with orange streaks. All other hunters in the match can surmise the rough location of bounty carriers either in dark sight or on the map, indicated by lightning bolts.
Players who successfully extract--at one of the three random points along the edge of the map--with the bount(ies) are rewarded with Bounty Points, which are automatically converted into hunt dollars (a 1:1 conversion) and experience for both their Bloodline Rank and their hunter (a 1:4xp conversion). Players who die or otherwise fail to extract lose their hunter and his/her equipment and only gain half xp (though gun/tool/consumable unlock xp is unaffected) for their exploits.
Teams must stand within range of the extraction point for 30 seconds without any team member being downed to exit the mission. Players have 5 minutes to enter an extraction zone after all bounties have been extracted from a mission, or their hunter is lost.
Notes[ | ]
- Fight solo, in duos or in trios (solos and duos can queue with duos or trios).
- Queue against duos or trios (no solo only mode possible).
- Players who make it out with their hunters can select a number of traits for them relative to how much experience they received.
- Downed hunters can be revived by teammates, but they lose their first health chunk permanently ('burned out health bar'). Some players prefer hunters with large 50-health bars, which will auto-regenerate more health, while others prefer small 25-health bars, which will limit the health-lost when downed.
- Burned out health bars can be regained by banishing a boss or by using trait points after extraction (i.e. a Hunter's burned-out health bars are not replenished automatically after extracting from a match).
- Players can change the makeup of their hunter's health bars (from big to small or vice versa) by spending trait points in the hunter modification screen.
- If a player dies with only one health bar that is not burned out, he cannot be revived and his hunter is lost*. Hunters who have died in this manner are referred to as "redskulled", based off the visual indicator displayed.
- *As of update 1.7.2, "redskulled" teammates can now be revived by bounty-carriers at the expense of 50HP drained over the course of the revive. This action is also known as a "bounty revive".
- Players performing this revive will not be able to kill themselves accidentally. If you have 50HP or less while performing this revive, it will stop at 1HP but will still finish the revive process.
- It is not possible to perform this action over distance with the Necromancer trait. You must physically interact with the “redskulled” teammate to take advantage of this ability.
- There is no limit to how many times a bounty revive can be performed. Note that bounty revives do not grant XP of any form.
- This revive is not time sensitive, meaning that as long as there is a bounty token on the map, redskulled players will always have a chance to be revived if any number of surviving teammates remain.
- *As of update 1.7.2, "redskulled" teammates can now be revived by bounty-carriers at the expense of 50HP drained over the course of the revive. This action is also known as a "bounty revive".
- Not picked up clues are red and play an alerting audio when an enemy is within 30m range (if you already took the clue but the enemy didn't you won't hear and see the alerting effect but your enemy will)
- With the exception of hunters equipped with the vulture trait, downed players can only be looted by two hunters.
- Looting a hunter's body rewards a tool charge or a consumable, or if a hunter has no room left for either, a hunt dollar amount ranging from $50-$1000 (effectively a cash register).
- Hunt dollars and blood bonds that are looted from cash registers or the bodies of hunters are lost if a hunter is unable to extract.
- Guns and equipment that are looted from players or the small orange consumable boxes scattered throughout the map are tagged as contraband upon extraction and cannot be sold. Contraband consumables have a storage limit of one per type, while guns have a storage limit of two (though different weapon skins have separate limits)
- Players whose weapons have been looted will be equipped with whatever was exchanged for their weapons upon revival.
- Every team's map grays out in the same way for each clue they find; enemy hunters' movements can be predicted with this knowledge.
- Bosses enter (and never leave) a more aggressive state when hunters enter the lair or make enough noise near it, so perceptive players can tell if a hunter has been there before them.
- In the instance of a two-contract game, the map indicates the sections in which each boss, and their respective clues, can be found.
- Entering darksight gives a sound queue, so it is generally recommended to track hunters carrying bounties with the map.
- Players can move normally while the map is open.
- Beginning a boss banishment restores all burned out health bars for the whole team and fully heals all of your team. Health bar restoration can occur even when a teammate is downed, but if he is revived before the banishment, he will receive the full heal as well. It will not give healthbars back to a fully dead teammate.
- When a player carrying a bounty is downed, anyone not already carrying that target's bounty can pick it up off his body, instantly gaining five seconds of enhanced darksight.
- When a player picks up a second boss's bounty, his enhanced darksight is refreshed to five seconds.
- The distance of the dark sight boost is from 125m up to 150m.
- Dark sight boost doesn't show the exact position of enemies. It shows their approximate position. While being closer to them also shows a more accurate position than when being further away.
- Additionally, looting downed enemy hunters or using a clue of a second boss while in possession of a bounty rewards one second of enhanced darksight (in addition to the usual reward), not exceeding five seconds.
- Going for the second contract in one game can be risky if there may still be enemy hunters on the map because players must use darksight to find clues, thus wasting their enhanced darksight and rendering them vulnerable to ambush by other hunters as they can be tracked easily and have no counter-intel. One way around this problem in trios is to send the teammate who hasn't collected the first bounty ahead to find clues and scout for enemy hunters. Alternatively, players can wait to banish one boss until they have killed the other. This strategy risks providing an enemy team with the full heal of the banish and potentially escaping with the bounty, though.
- After entering the extraction zone, players may exit without disrupting the countdown as long as at least one team member remains in the extraction zone.
- If a player is downed in the extraction zone, teammates cannot extract until they are revived.
- Hunters who are permanently killed at extraction do not disrupt the countdown for their teammates.
- As of update 1.6.1, with the addition of the new "bounty revive" mechanic, permanently killed, or "redskulled" teammates will disrupt the countdown and prevent extraction if any hunter part of the team possesses a bounty token. In other words, if the revival of a teammate is possible, the countdown will be disrupted.
- Enemy hunters can contest an extraction by entering the zone, refreshing the countdown when they leave or are downed/killed.
- All players are notified when a bounty is extracted.
- It's possible to rarely find (mostly) low tier weapons in the mission
- The game automatically ends after 45 minutes, or five minutes after all bounties have been extracted. Every hunter who is not in an extraction point when the countdown ends is lost.
Soul Survivor[ | ]
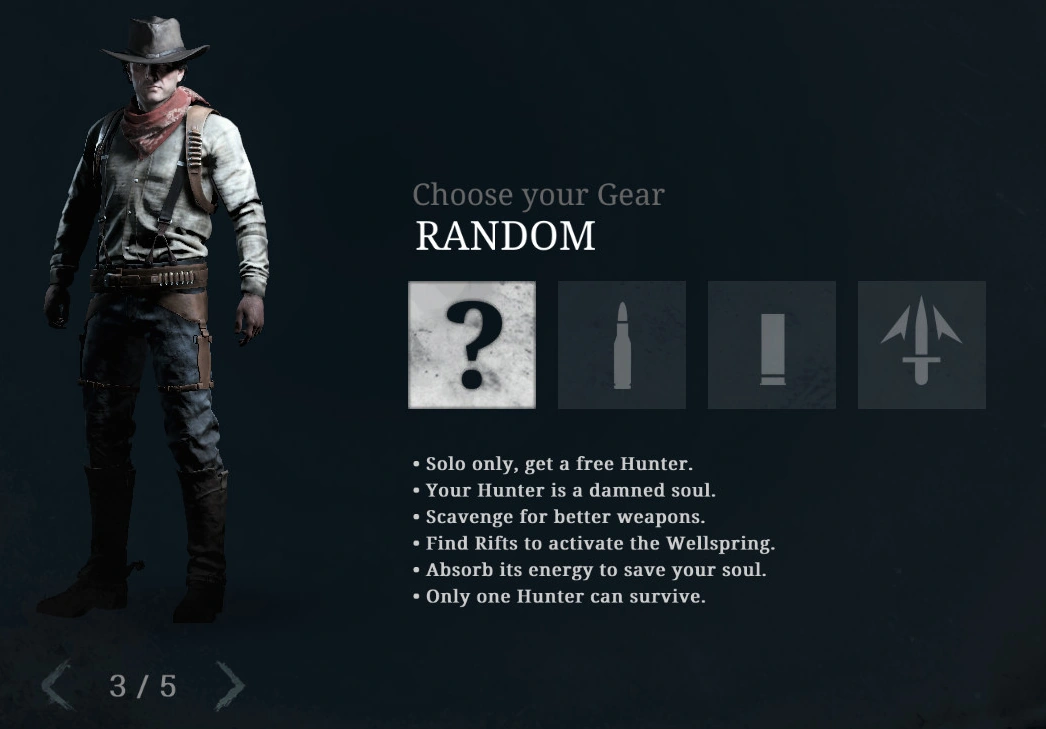
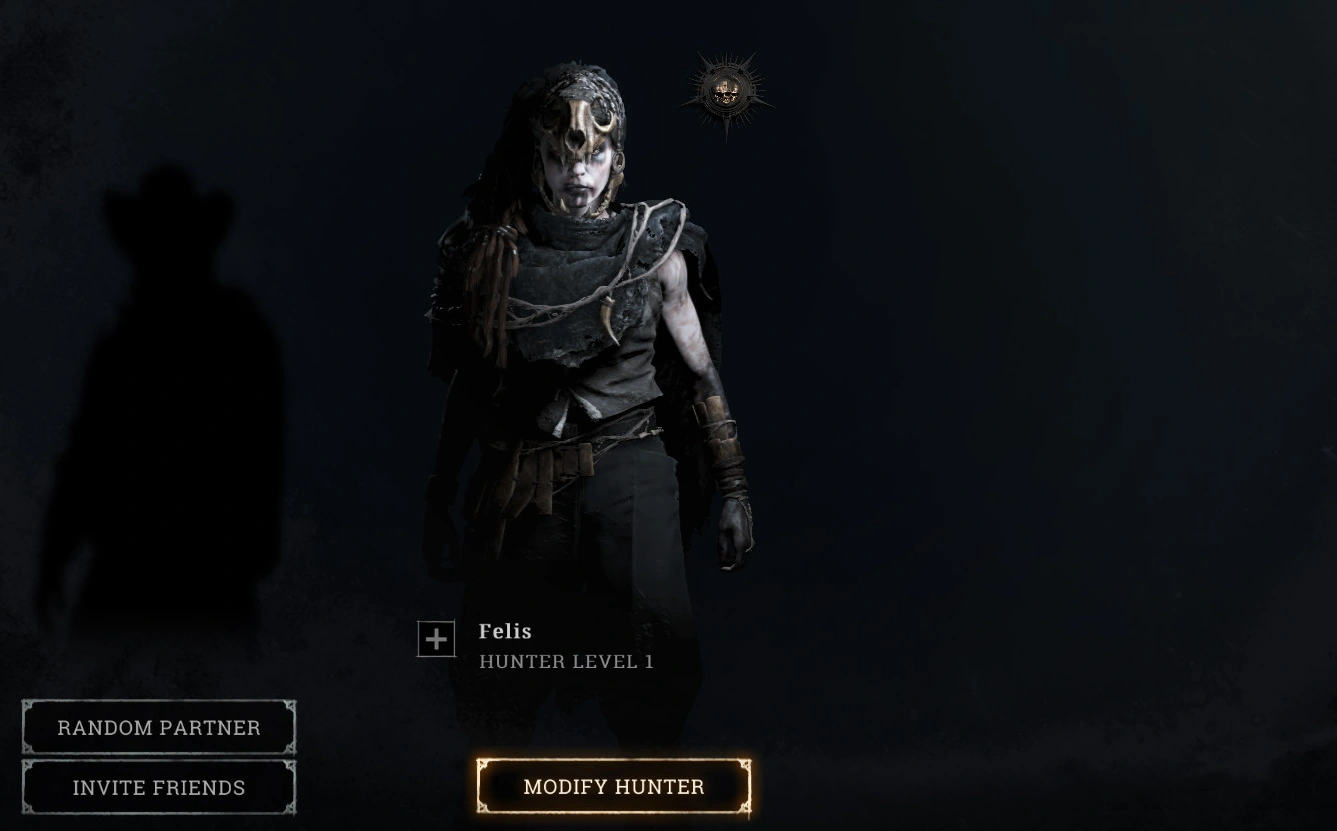
In this game mode, up to 12 players compete solo in fast-paced battle royale-inspired gameplay to discover and defend the Wellspring against other hunters. Players cannot choose to play as any hunter from their roster in this game mode; instead, they are provided with a free hunter. Players choose the hunter's skin (within the hunter tiers (I-III) available to their bloodline level) and weapon type (pistol, shotgun, melee, random), each option providing a random weapon from a small pool of low-grade variants.
Players spawn scattered across the map, which is littered with consumables and weapons. To have a chance at victory, they scrounge for better gear as they progress toward the Wellspring.
The player's hunter is damned and must be saved by entering the Wellspring and remaining there until the time runs out. To narrow his search for it, he must activate four Rifts. When a hunter finds the wellspring, his location is broadcast to the remaining hunters on the map and in darksight. He must be killed before any other hunter can absorb the Wellspring's power. Only the hunter who draws the final second of power from the Wellspring can survive; all other hunters perish in flames. The player whose hunter survives may recruit him with all his gear, traits, and experience for free under the 'soul survivors' tab after the game.
Starter Equipment[ | ]
Players always start with a melee tool (Knife, Knuckle Knife, Dusters or Heavy Knife) and a First Aid Kit. Initially, hunters possess no traits, but closing a rift grants your hunter a random trait.
Random
- A random weapon from one of the other classes
Medium Range
- Nagant M1895
- Nagant Precision
- Hand Crossbow
- Caldwell Conversion
- Nagant M1895 Silencer
- Nagant M1895 Dual Wield
- Caldwell Conversion Pistol Dual Wield
- Nagant M1895 Silencer Dual Wield
Short Range
- Specter Compact
- LeMat Mark II
- Romero Handcannon
- Caldwell Rival Handcannon
Melee
- Cavalry Saber
- Machete
- Combat Axe
Notes[ | ]
- Every second spent with the wellspring grants one bounty.
- The wellspring, which starts at 450 points, is drained from the beginning of the match, and all bounty that is drained prior to its activation is lost.
- Other players can track the wellspring carrier with the map or in darksight. When within 150m range the wellspring carrier is highlighted in orange in the same way that Dark Sight Boost functions in Bounty Hunt.
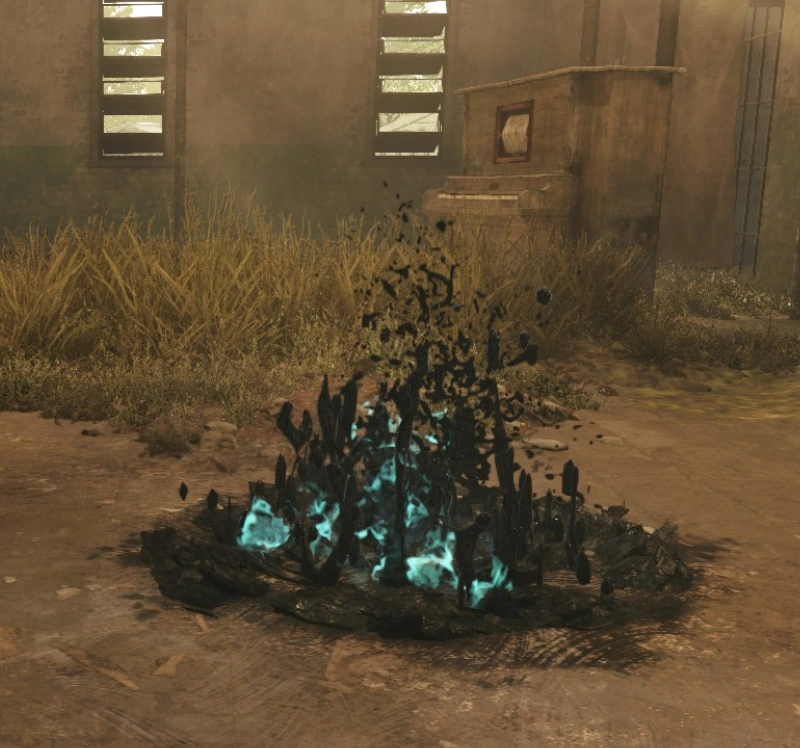
- Rifts that haven't been closed glow red and emit a low groan when an enemy is within 30m (if you already closed the rift but the enemy didn't, only your enemy's rift will enter this state)
- If the player holding the wellspring kills another hunter, it is instantly depleted by 25 points.
- If a player kills the wellspring carrier, their success is broadcast to all remaining hunters.
- If all other hunters perish, the wellspring carrier gains the remainder of the wellspring and his soul is saved after 4 seconds.
- The winning hunter's weapons and equipment are marked as contraband and cannot be sold for money.
- The winning hunter gains experience for monster and player kills and can be played in Bounty Hunt after being recruited in the Soul Survivors tab.
- Only four soul survivors can exist in the special recruitment tab; any soul that survives while this tab is full will replace the oldest soul survivor.
- After dying, hunters may spectate any of the remaining players - and learn from them.
- Soul Survivor's rewards--well-equipped soul survivors and bounty for closing rifts and holding the wellspring--can give players a strong financial and gameplay advantage over recruiting and outfitting hunters in the recruitment tab.
Gallery (Outdated)[ | ]

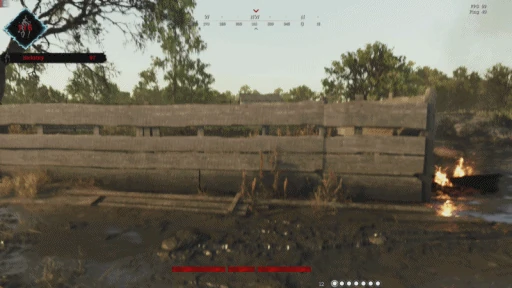
An open rift

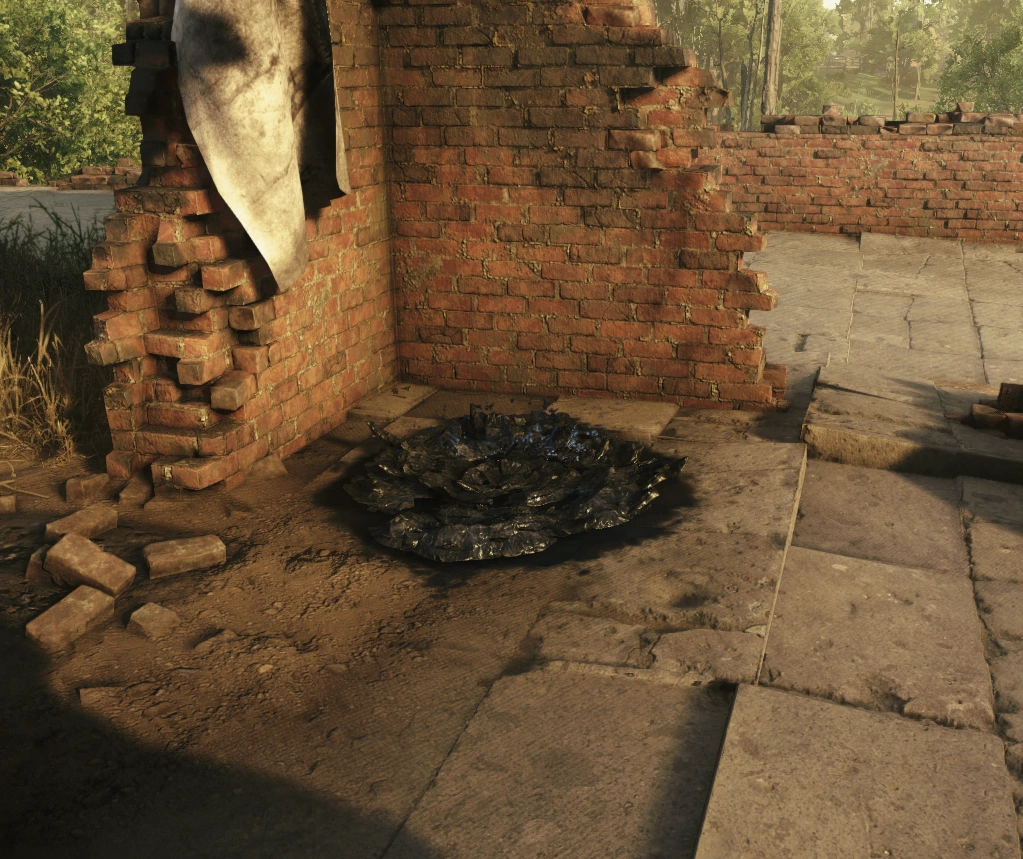
Rift that you have already closed

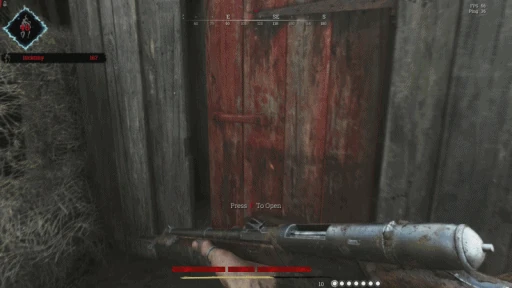
Another player activating Wellspring

Seeing a Wellspring carrier in Dark Sight
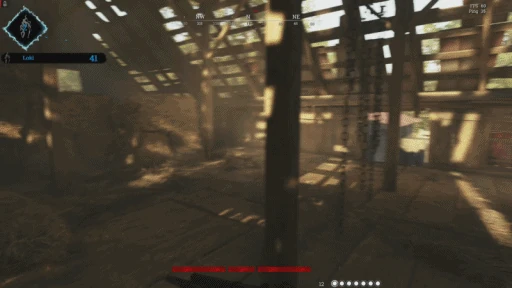
Reclaiming the Wellspring
Saving your soul
Recruitment tab for Saved Souls

Training[ | ]
The Training mode is an offline PvE mission. It can always be replayed, so it is a good way to test and optimize weapon and consumable use, but the rewards can only be acquired once. In the training mode, you can only travel between 6 compounds: Cyprus Huts, Davant Ranch, The Slaughterhouse, Healing Waters Church and Lockbay Docks. There are three difficulties available.
Basic[ | ]
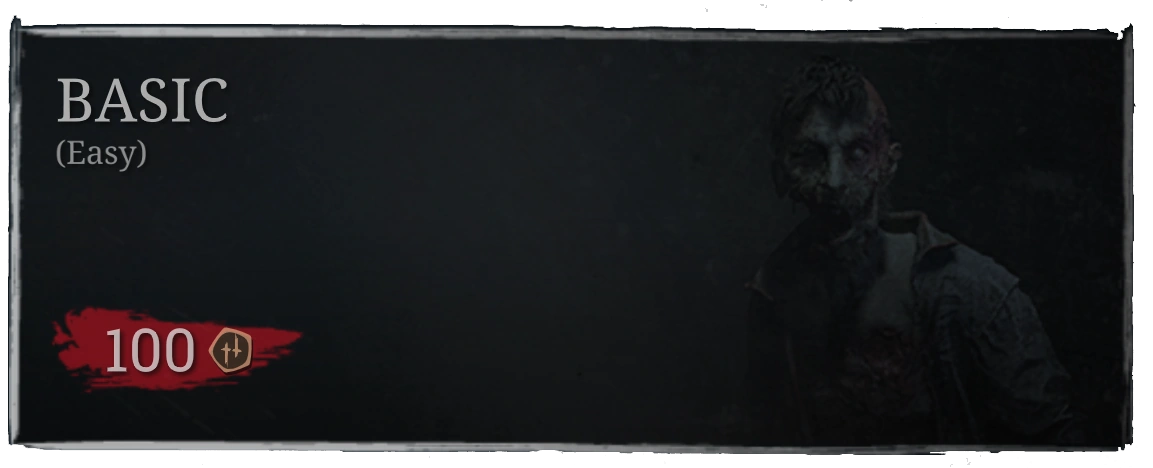
- Simple unarmed enemies only, in fewer numbers
- More ammunition supplies and health stations
- A contract target (Butcher) with 25% health
- Lootable alternate weapons near the target's lair
Reward[ | ]
50 Blood Bonds
Advanced[ | ]
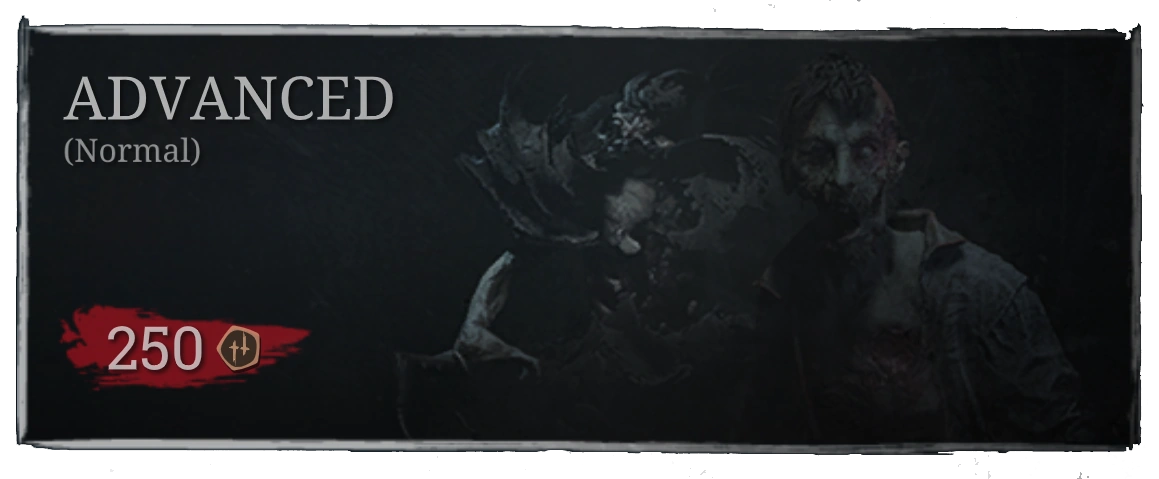
- More armed basic enemies
- A few advanced enemies
- A target (Butcher) with 50% health
- Lootable alternate weapons near the target's lair
Reward[ | ]
75 Blood Bonds
Professional[ | ]
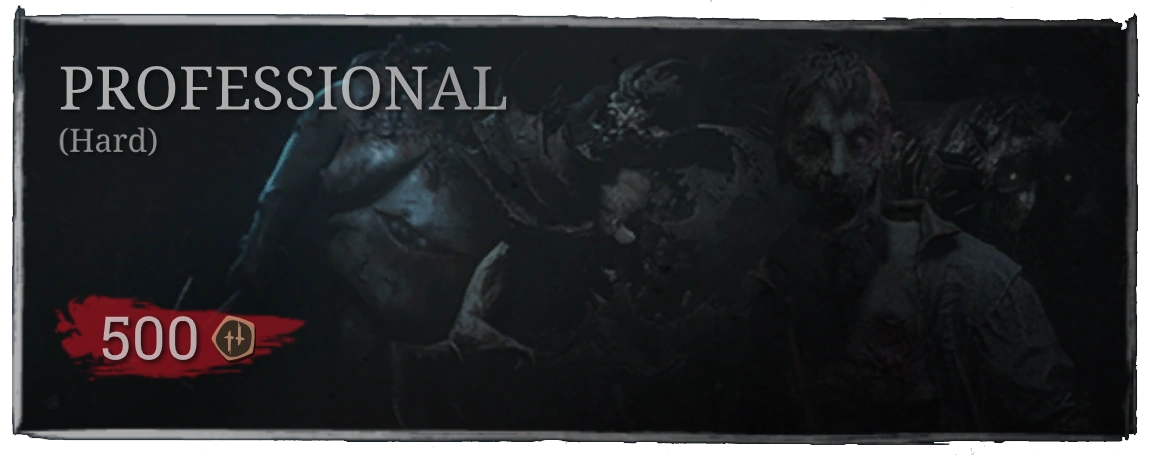
- All enemies, basic and advanced, in normal numbers
- A regular amount of ammunition supply and health stations
- A target (Butcher) with 100% health
- No weapons to loot near the Target's lair
Reward[ | ]
125 Blood Bonds
Trial[ | ]
Trials allow players to explore the maps without AI on them and complete challenges in the compounds.
In every trial you can earn three stars with which you can unlock different Rewards
There are three different trials: Parkour, Sniper and Wave.
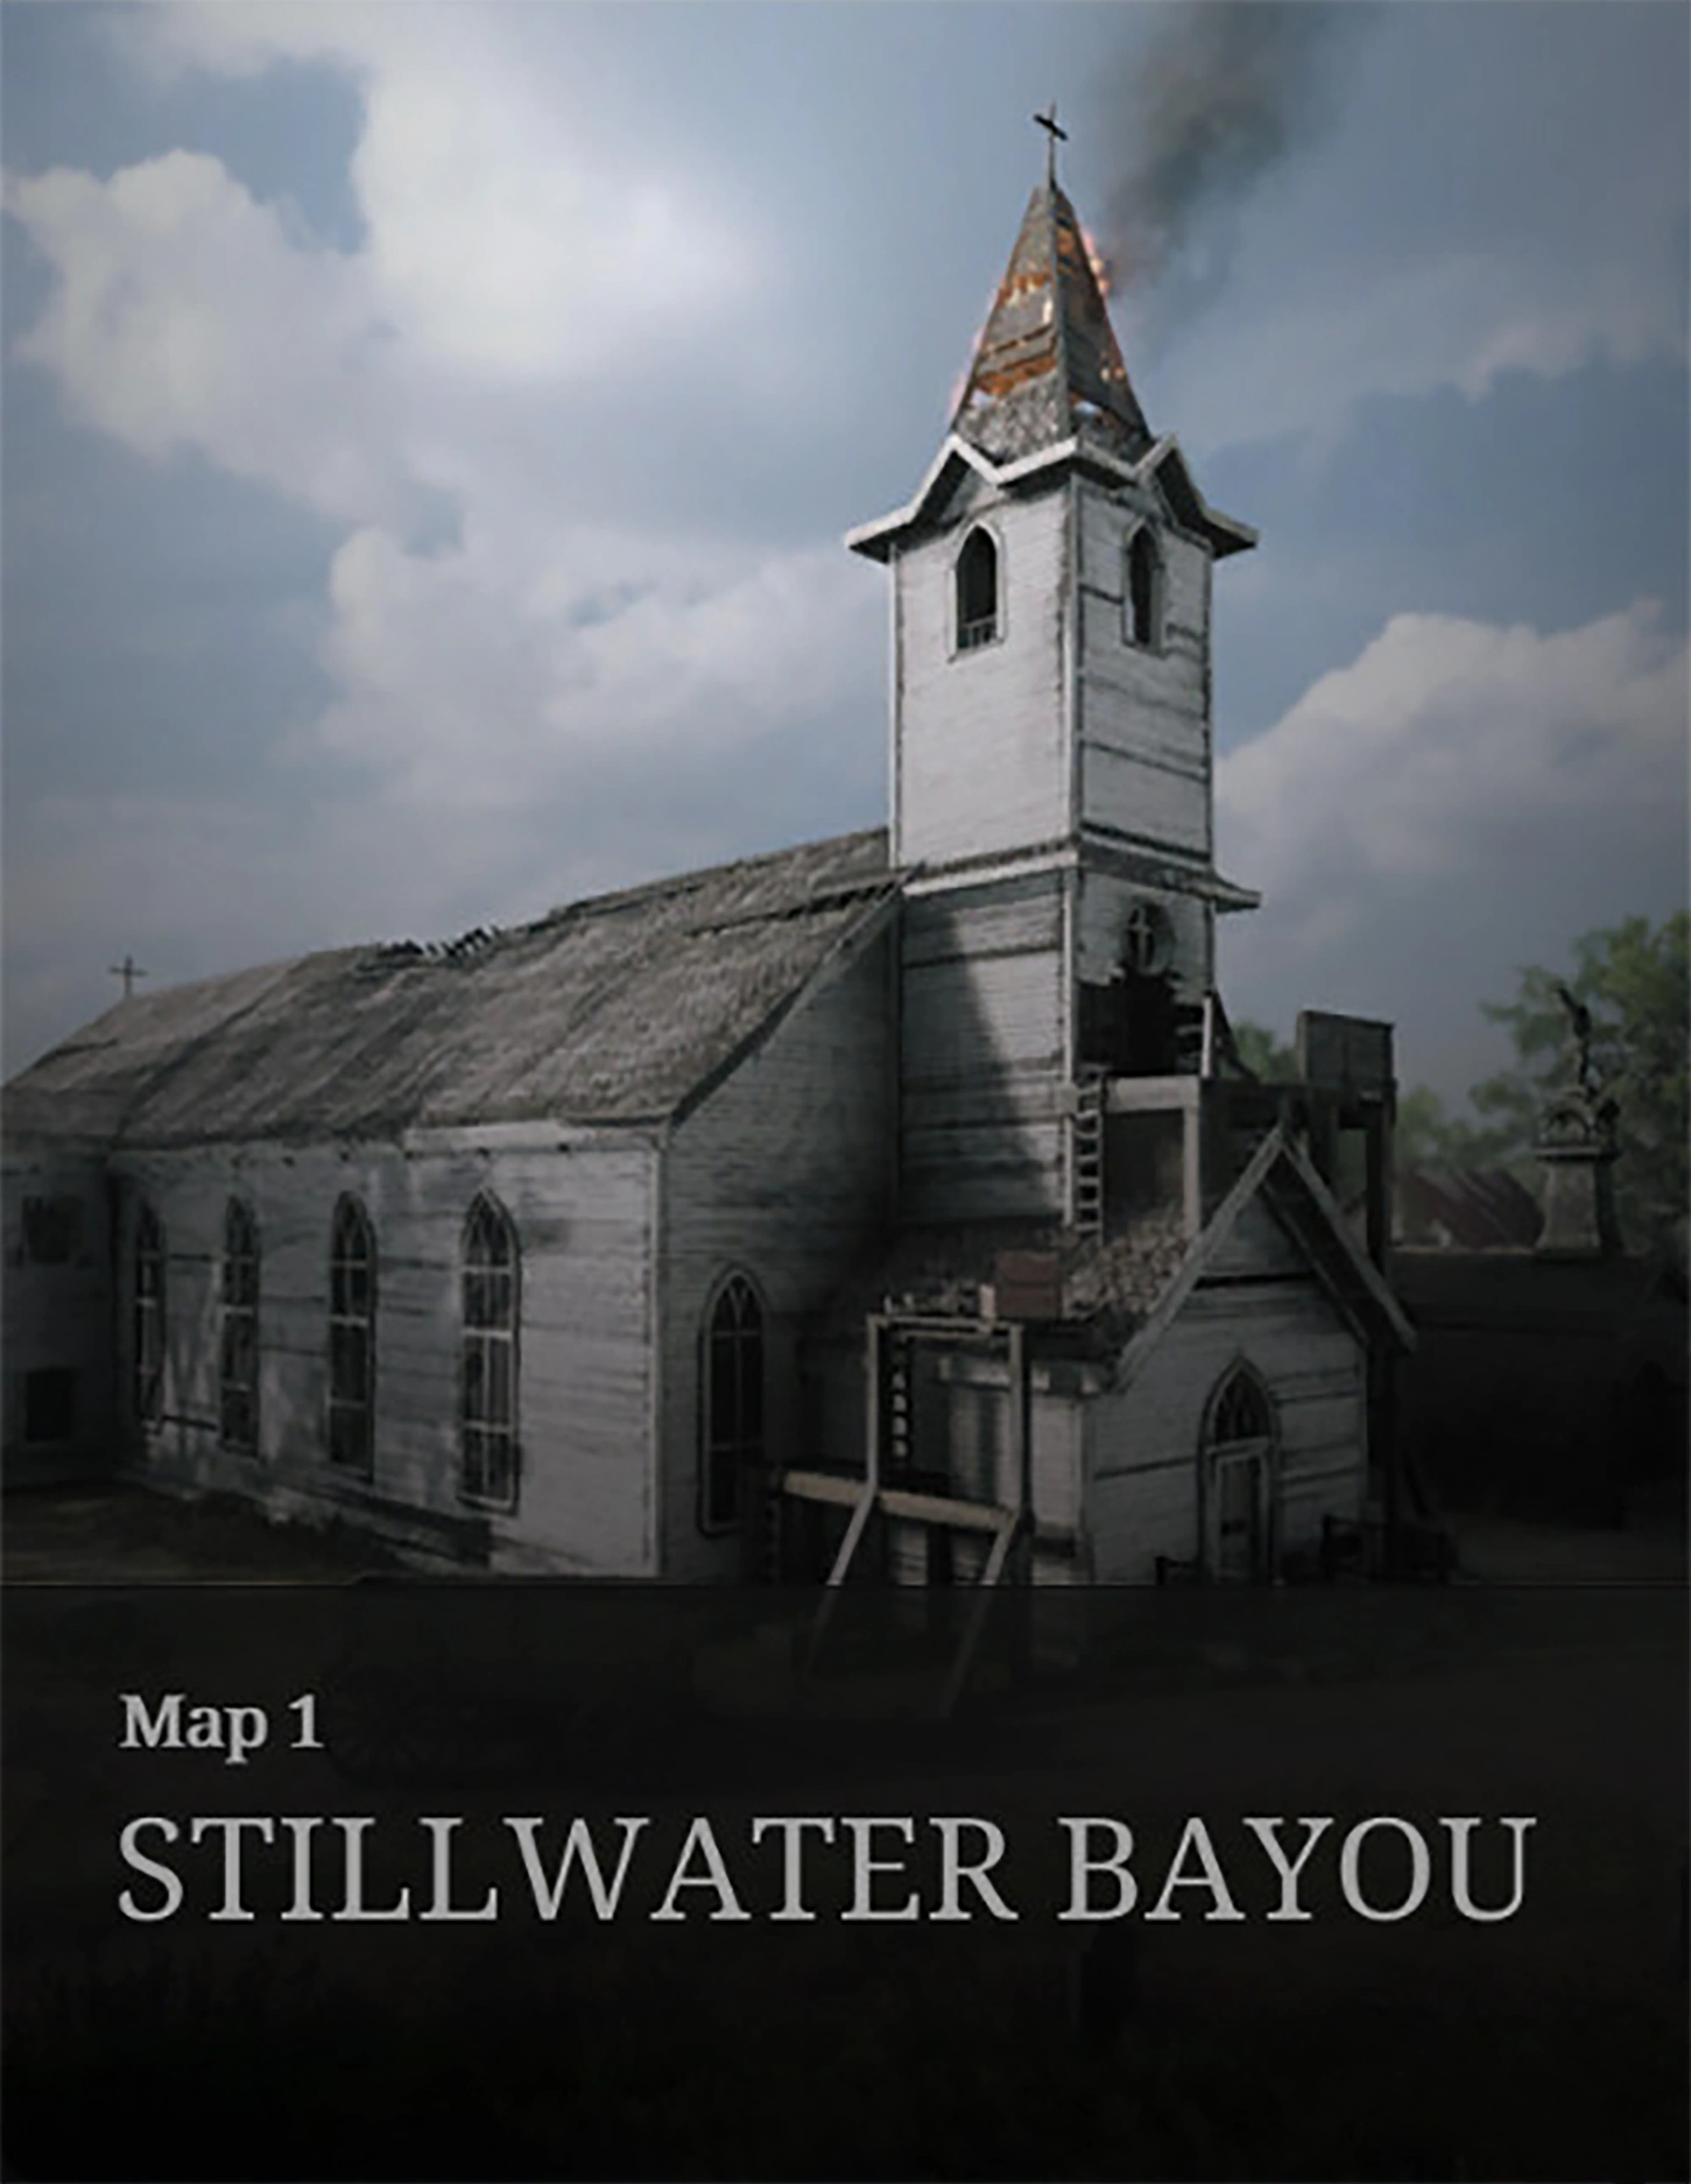
Stillwater Bayou[ | ]
Parkour Trials[ | ]
In parkour trials you need to collect checkpoints in a timeframe. On the way you need to survive attacks from AI.
- "Flat-Out for Flatboats" - Lockbay Docks - Flare Pistol
- "Riding the Line" - Davant Ranch - Crossbow
- "A Cursory Investigation" - Pitching Crematorium - Duster
- "Nightly Apparation" - Port Reeker - Winfield M1873C Silencer
Sniper Trials[ | ]
You spawn in an elevated place and need to kill your targets, mostly with headshots, within a specific time.
- "Fool's Honor" - Cyprus Hut's - Lebel 1886 Marksman
- "For Whoom the Bell Tolls" - Healing-Waters Church - Mosin-Nagant M1891 Sniper
- "Cut Firwoord" - Reynard Mill & Lumber - Mosin-Nagant M1891 Sniper
Wave Trials[ | ]
In the Wave trial you need to Kill a specific AI and banish them while waves of other AI attacks you. You need complete it within a timeframe.
- "A Corpse for a Corpse" - Slaughterhouse - Winfield M1873 Swift
- "Fall Where They May" - Catfish Grove - Mosin-Nagant M1891 Avtomat
- "A Futile Undertaking" - Stillwater Bend - Nagant M1895 Officer Carbine
- "Can't Rob Empty Graves" - Blanchett Graves - Mosin-Nagant M1891 Bayonet
- "Big Game Connoisseur" - Darrow Livestock - Nitro Express Rifles
- "Hive Brood" - Alice Farm - Crossbow
- "Fisherman's Tale" - Scupper Lake - Bomb Lance
- "Fire in the Bones" - The Chapel of Madonna Noire - Martini-Henry IC1 Riposte
- "Not All For Show" - Alain & Son's Fish - Dual Bornheim No.3
Lawson Delta[ | ]
Parkour Trials[ | ]
- "Be Jubilant, My Feet" - Wolfshead Arsenal - Mosin-Nagant M1891 Obrez Mace
- "Resist Much, Obey Little" - Fort Carmick - Caldwell Rival 78 Handcannon
- "Out of Their Misery" - Godard Docks - Dual Nagant M1895 Silencer
- "Finish the Farce" - C&A Lumber - Caldwell Pax
Sniper Trials[ | ]
- "From Dust To Dust" - Sweetbell Flour - Vetterli 71 Karabiner Deadeye
- "Lightning Does the Work" - Arden Parish - Winfield M1873C Marksman
- "No Vice, No Virtue" - Lawson Station - Mosin-Nagant M1891
Wave Trials[ | ]
- "Gratitude and Treachery" - Blanc Brinery - Dual Caldwell Conversion Chain Pistol
- "The Mother of Taking Chances" - Golden Acres - Crossbow
- "Virtue Meets Brute Force" - Maw Battery - Dual Dolch 96
- "Exult Over Downfall" - Iron Works - Crossbow Explosive
- "Reap the Whirlwind" - Brickworks - Bomb Lance
- "Flesh of My Flesh" - Salters Pork - Nitro Express Rifle
- "Truth Doesn't Stick to Possibilities" - Windy Run - Winfield M1873 Swift
- "Never Walk Back" - Hemlock and Hide - Crown&King Auto-5
- "We Do Not Need Light, But Fire" - Nicholls Prison - Mosin-Nagant M1891 Bayonet